Guide:Ren'Py visual novels on Steam/Bundle
|
|
This page is community guidance. It was created primarily by Bob Conway. Please note that guides are general advice written by members of the community, not VNDev Wiki administrators. They might not be relevant or appropriate for your specific situation. Learn more Community contributions were not requested - please discuss on the talk page before editing this guide. |
You can create bundles to combine games with its DLC to create a "deluxe edition", or to sell multiple of your games together. Bundles also have their own required images.
Create A New Bundle
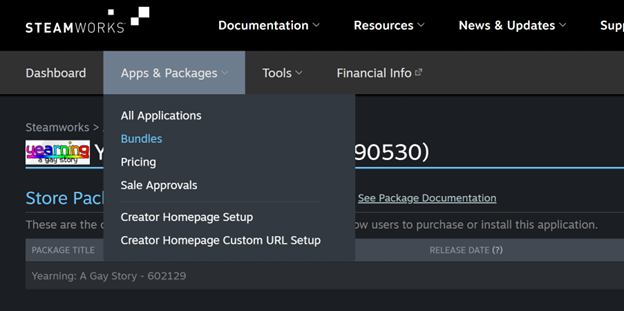
At the top of your dashboard, under "Apps & Packages", select "Bundles", then click the "Create New Bundle" button on the right.
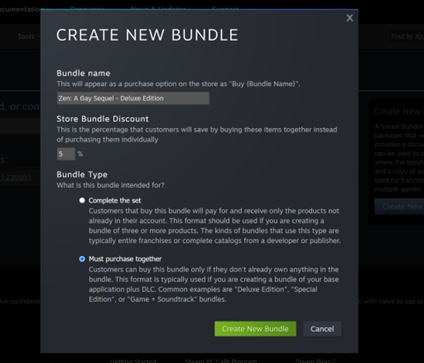
The popup does a good job explaining the two types of bundles, so select the appropriate one for your use case.
You'll land on a special bundle page. There are a few things we need to do here.
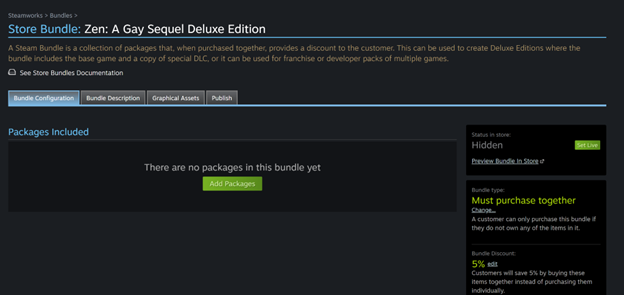
Add the Bundle Items to the Bundle
Click the "Add Packages" button and add all relevant packages to your bundle.

You can always add additional items later.

Create the Store Page
Click the Bundle Description tab and fill out the details. You should be a pro at this by now.

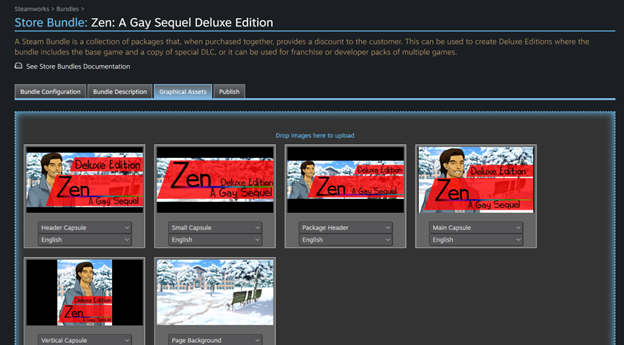
Bundles also have their own graphical assets, similar to store pages, that you can upload via the "Graphical Assets" tab. These include:
- A 707x232px header image
- A 460x215px header image
- A 231x87px small image
- A 616x253 main image
- A 273x448px tall image
- An optional 1438x810px background image
Upload these in the usual manner.
Publish Changes and Release the Bundle
Just as with store pages, you'll have to publish to push the changes out to the live store. After the bundle is published, you can set it as Live via the button on the initial dashboard screen.
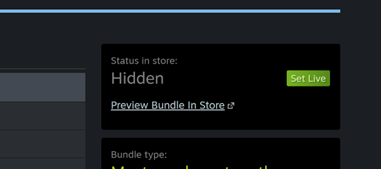
You'll probably want to wait until your game and its DLCs are released before setting the bundle live.
| |||||

